Showing posts with label tutorial. Show all posts

17 January 2013

make-believe cape, the tutorial

*

i am sorry that it has taken so long to get the promised cape tutorial to you. it is so simple a project that really you do not need a proper tutorial to accomplish the making of it. which is good! because this is not much of a tutorial when all is said & done. still, i shall do my best.


items to gather:

*2 receiving blankets
*measuring tape
*scissors (yes, spell-check, i do realize that it is not spelled "scisoors". go away.)
*pencil
*round object, approximately 5 inches across
*sewing machine
*1 square of velcro, both halves

the first thing you want to do is make a pattern. i had sheets of very large paper, but if you do not, you can use newspaper, or brown craft paper. how large a piece of paper you'll need will depend on how tall your child is. 

let me say here that elfling is a smallish 3.5yo, being just shy of 3 feet tall. rounding up, that makes him 14 inches taller than the height of the paper; my sheet of paper being the perfect size for him, at 22 x 16 (inches). you are on your own for the math adjustments - though i imagine you could just add however much taller your child to the height of my pattern. sorry if this is confusing, i am allergic to math.

once you've figured out the measurements, cut out the whatever-by-whatever rectangle from your pattern paper, & fold it in half lengthwise. you can see the crease from this in the above photograph.

now you draw your pattern, but only half of it. begin at the top edge of the fold, & curve downward, until you have come to the edge of your paper. on mine, this is 5 inches down from the top.

next, you'll take your round object (i used a lid), place it on the top edge of the fold (with the mid-point of the circle following the fold), & slide it down until the space at the top edge measures 2 inches. draw around the half-circle. later, this will be the neck opening. 

keep the paper folded, & cut away the excess at the top, as well as the half-circle. 

lay your receiving blankets down, one atop the other, smooth out wrinkles, & fold in half lengthwise. place the pattern over this (folded edges matching), pin the whole lot together, & cut it out. 

remove the pattern, & open your fabrics. these two pieces should like identical to the pictured pattern when opened. 

keeping the two pieces together, cut a slit in the top of the circle. this creates the opening for the neck.

re-pin the fabric, & stitch all the way around the edges with a zig-zag stitch. to reinforce, go back around with a straight stitch, at the inner edge of the zig, or, um, the zag. we aren't going for beauty here, merely for quick & sturdy.


see? nobody could accuse me of going for beauty with that stitchery.

it is time to add your closure. pin one half of your velcro square to the topside of one arm of the neck, & the other half to the underside of the other arm. make sure you do this, because you want your arm ends to overlap. stitch on all four sides of each, then stitch an x through each, to make them strong. if i'm not being clear, you can see what i mean in the above photo.


that is all there is to it! because i wanted to keep elfling's cape ambiguous, i did not embellish the fabric. most of the capes i see online have superhero emblems, which you would want to stitch onto the center of the outer fabric, before sewing the two halves together.

happy sewing!
~peace.

28 December 2012

a wee crown to make

*

last week thehobbit complained repeatedly mentioned that once again we did not have a topper for our tree. we do own one; a gorgeous woven twig star; but it is meant for a full size tree, & we switched to little potted ones many years back.

the day before we had been at soap's house, where i found what looked like a wee crown on the floor of her kitchen. it turns out it was the remnants of a craft - the edge of a toilet paper tube, that had been cut by zig-zag scissors. i remembered how much i adored it, so decided a wee crown was just the thing for our tree.


i altered our crown by using half of a tube, & cutting a handful of deep points. a certain pesky elfling was not in the mood to allow me much crafting time, so i had to settle for quick embellishing. i dabbed dots of glittery nail polish all around; with the dots getting slightly further apart towards the bottom.


it isn't the most fancy of wee crowns, but i love it! so much so, that i am going to make a bunch of them for our new year's eve gathering. i have a package of elastic string that i can use for straps.

after oohing & ahhing over the cleverness of me, i searched for cardboard crowns on pinterest. many gorgeous creations were to be found - including toilet tube crowns just like mine! how ever did those people copy my idea before i had it? 

this one is sweet.

& you must see these wee creations of lace!

i would love to make a few of the lace ones, but i am trying to limit my crafting to things which use only what i have on hand. what about you? are there wee crowns that you adore?

~peace.

22 August 2012

pure genius!

*

on our recent road trip i needed something in which to store the various cables. (gone are the days of the most important thing to remember being your toothbrush.) in poking through my studio, i came across this terribly photographed bag that i had altered a bunch of years ago. it worked wonderfully! so much so, in fact, that i now use it as a camera bag.


in the main of the bag sits the camera, as well as the little pouch i use when i just want to toss the camera into my diaper bag. the large pocket to the left holds the cables, with the smaller pockets on the right holding batteries, & miscellanea.

the bag was meant as a travel case, i believe. it was a sponsor gift at one of manlyman's tournies. the outside was black, with callaway written in large white letters. ever so sporty, & ever not so kat. knowing i could find a use for the bag, if only it was not so sporty, i sewed a slipcover for it.

it wasn't all that hard to do. i traced the case on kraft paper, adding an inch extra at the top, a bit more for the sides, & a bit more than that for the bottom. you'd need to take into consideration the shape of your case when deciding how much extra to add. for instance: if yours had a flat bottom, or wide sides, you'd need to allow for that. mine did not, so i did not.

one i made the pattern, i cut out two pieces of fabric. i used samples, & they being small, i needed to use two different designs in the same colors. you can just fold your fabric in half, & cut once. does that make sense? let me know if i am not being clear.

i then sewed the sides & bottom together, right sides facing in, on the machine. no need to do anything fancy, they'll be on the inside, & never seen.

next i folded the opening twice, & ironed it flat. then came the fun part; hand-stitching. i love to sew by hand.


as you can see, i stitched the cover to the bag itself, making sure to give the zipper enough room to work properly. oh, & i used embroidery floss, with a larger needle. i no longer recall why i did, but i am sure there was a reason :)

that is all there was to it. of course, it is not perfect, but i like a bit of imperfection.


the buttons are not an option; they are an integral part of the function of the entire bag. or something like that.

this idea is not limited to travel bags, you know. you could do the same thing to those ugly lunch bags, actual camera bags, & so on. heck, i even made damask sleeves for my freezer packs. happy sewing!

~peace.
ps :: the genius button was from a museum outing, eons ago. the other two (insanely adorable) buttons were found in seattle last month. they are, of course, the work of miss emily, she of black apple fame. i do not see any buttons in her shop currently, but you can ask her yourself if she plans to add any.

01 August 2012

keep calm it's a diy

*

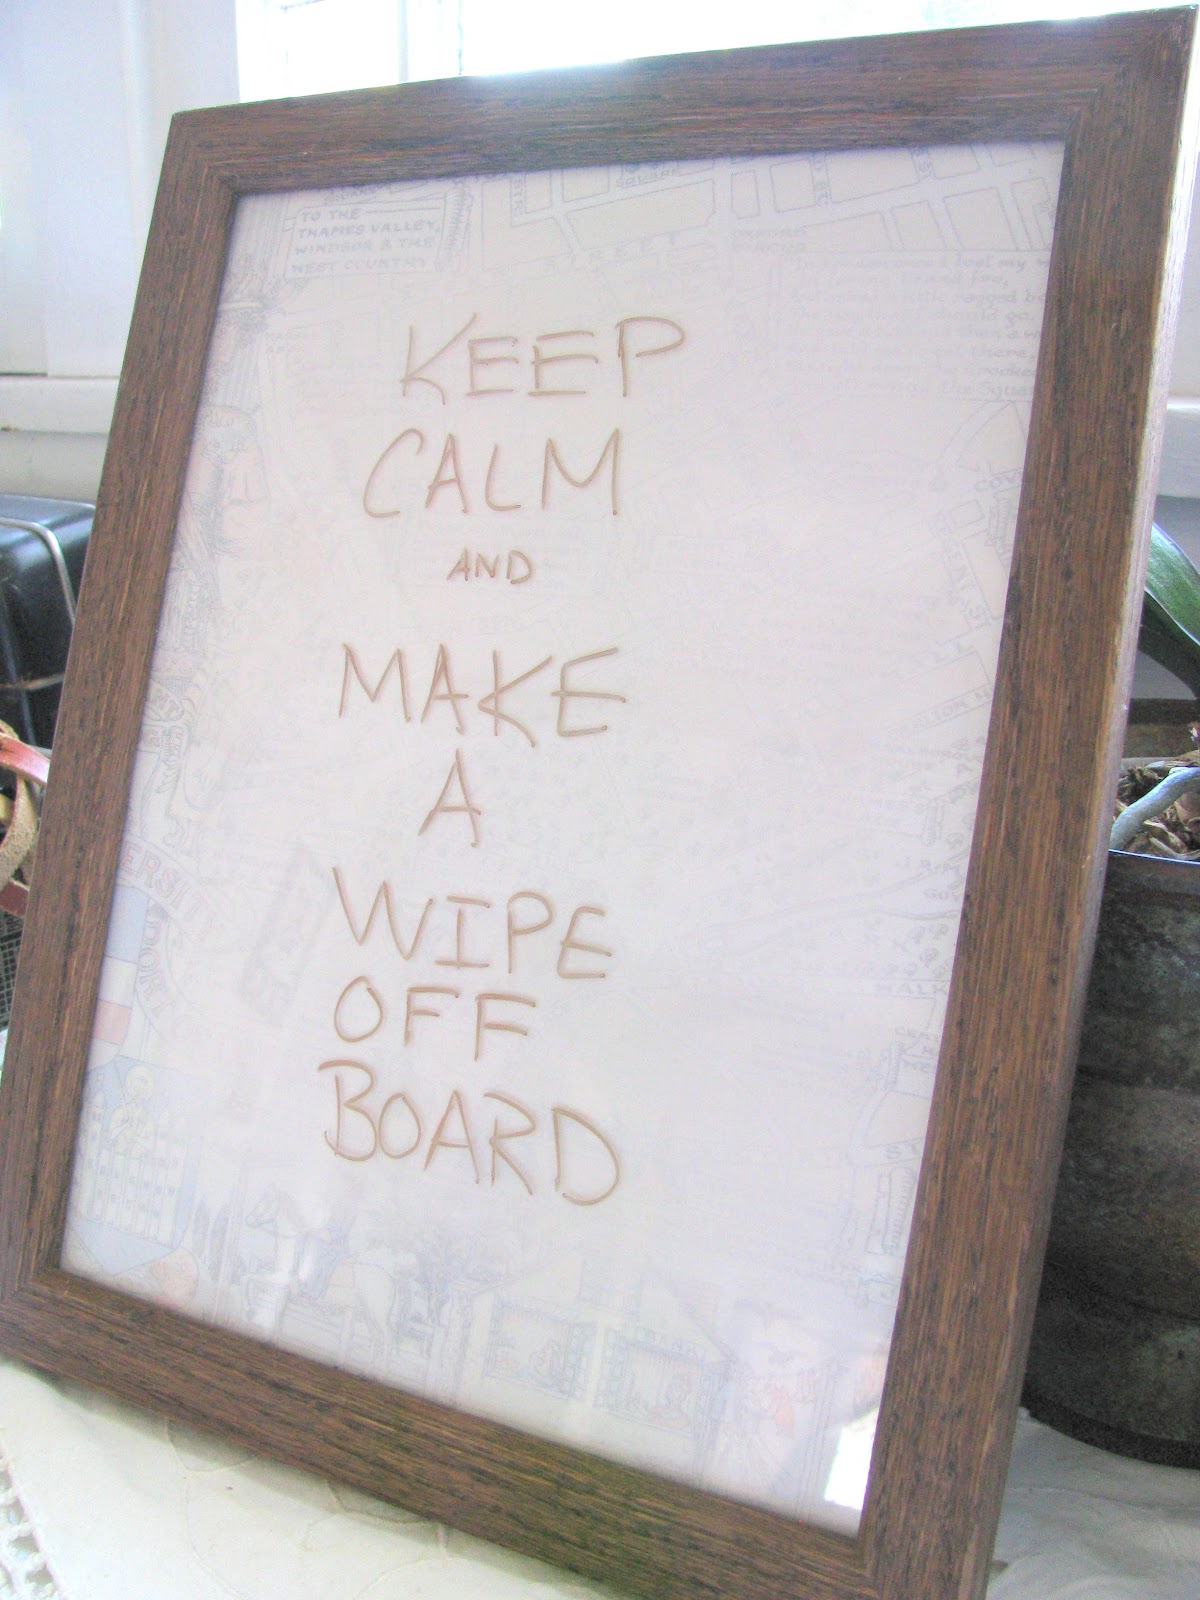
recently i found this fun diy memo board on pinterest. not having the perfect shabby frame lying about, i tried a temporary board with a boring one found in the garage. 

once i popped in a piece of paper that looks like a faded old british map (a nod to the london olympics), & liberated a window marker from thehobbit, i gave it a go.


sure enough, it wiped right off! we have made good use of this board already: yesterday we wrote birthday wishes to elfling, & today i left manlyman a love note. 

as soon as i find the perfect frame, i'll make one using some vintage linen. you need to go make one now. shoo!

~peace.

ps :: i am not writing a birthday post for elfling as i am still in denial. in my head he is 2yrs & 12 months old.

03 November 2011

thursday things - make it yourself

*
photo :: my new toddler-sized birthday crown, for sale soon!
i have decided to do away with all pretense, & just admit that i am already working on the winter holiday stuff. sigh. it is not that i want to, i have no choice. if prezzies are going to get made, & theshop is going to overflow with goodies for sale, then i cannot wait for the actual season to arrive. blah.

this week's thursday things focuses on prezzies you can make. hoorah, tutorials!!!

* wooden alphabet magnets this is the set i am making for elfling. i had been searching for new magnets for him, as his set is missing a few letters. it was fine when the magnets were just for moving around the front of my washing machine, but now that he is learning his letters, it's probably best to have them all. 

* mp3 player arm band thehobbit needs one of these! i won't bother with the patchwork (though i do love it myself) & just make it all black, or dark gray. those are the only colors he'll wear these days. i think it's the teen uniform here in los angeles she wrote, ignoring the fact that those are pretty much the only colors she wears as well.

* wrist cuff oh yes! both manlyman & thehobbit are getting an upcycled wrist cuff. 

ack! he is awake? already? sigh. ok, my sweet one & only reader, that will have to be it for today. happy crafting!

~peace.

11 July 2011

in which i plant seeds & give you a quickie

*

not that kind of quickie - you have a naughty mind.

so, i am actually getting things done! the other day i managed (thank you not quite a water park!) to get some flowers re-potted, & 3 flats of seeds planted. we have a very long growing season here, so there is still plenty of time to grow & harvest. if you are in southern california, here is a great planting calendar.

i planted: lettuce, cucumbers, chard, pumpkins, parsley, 2 types of zucchini, & fennel. yum.


do you remember this seed box? i wish i could find the post in which i wrote about it, but i cannot. here is a quickie how-to:

* take an index card to your favorite container store. you want one as wide as the index card. wider is fine, but less is not. i only need one container for my seed collection, but i have a friend who could fill a few. buy what you need.

* label each index card with the seed packets that will be stored in front of it. how you categorize is up to you. some seeds in my box are grouped into one category (herbs), whilst others have each their own (zucchini, winter squash, etc).

* place your seed packets, on their sides, in front of the appropriate index card. pop on the lid, & do the happy dance!

note ::  i also keep small scissors (for opening new packets), a marker, & craft sticks (for labeling what seeds were planted) in this box.


now comes the hard part - the waiting. what about you? how does your garden grow?

~peace.

05 June 2011

from scraps to doodles

*

for the first time in the nearly 10 (gasp!) years we've been homeschooling, we ended the school  year with a stack of worksheets. i wanted an alternative to tossing them into the recycling bin, so turned them into doodle pads for elfling.


here is how i did it:

* make sure the papers are all blank-side up.
* cut them in half, across the middle.
* separate into manageable stacks. too thick & you could break your needle.
* cut covers for each (fronts & backs) from grocery bags.
* place a front & a back on either side of each stack.
* choose a short side to be the top, & sew a straight stitch 1/4 an inch from the edge.
* go back to the beginning, & sew (at the edge) a zig-zag stitch.
* repeat for each doodle pad.


i recommend that you do this when you are not bone-weary from lack of sleep. i was that, & the result is the worst sewing job. ever. 

i'm in love with the illustrations on trader joe's grocery bags, which is what i used to cover these doodle pads. if you want to see what else i do with the bags, read this tutorial.

i hope you are inspired to reuse paper that still has one blank side. if so, let me know what you come up with!

~peace.

26 February 2011

(not really) a whatchamacallit tutorial

*

i thought i'd share how i created this beautiful photo, um, whatchamacallit. now i should say that i don't usually like these whatchamacallit frames. when i see them at people's houses they seem random & cluttered to me. i wouldn't have chosen this myself.

when thehobbit was dinky, we were shopping for a daddyo-day prezzie. he saw this frame, & declared it the most perfect thing ever. i tried to interest him in other items, because a) i don't like whatchamacallits, & 2) it was a shiny black frame - so not my style. my stubborn boy could not be swayed.

the first thing i did was attack it with sandpaper. that took away the shine, & gave it a bit of shabbiness. only a bit, because this was a prezzie for manlyman, & he does not love shabby. freak.


next, i chose photos of thehobbit. if you are going to do this project, i recommend sticking with a theme. this will keep your whatchamacallit from looking random. here my theme was thehobbit.

i chose photos that represented who he was at the time. i also chose simple photos, to avoid things looking cluttered. if you peek again at the first photo you'll see a mix of close-ups, torso, & full-body shots. it's more interesting when you have that balance.

because this was many years ago, i did not have a digital camera, nor programs for altering photos. in fact, i think all i could do was scan photos, then turn them black & white. caveman days!

once i'd chosen & altered my photos, i printed them onto regular computer paper. i know! but we didn't have much money back then, so i used what i had. if you click on the photo below, you may even see faint lines in the photographs, from our sucky printer.

people often comment on this whatchamacallit. they're always surprised when i tell them how i made it. it goes to show that you don't need a lot of money to create something beautiful for someone you love.


i suppose i need to make one of elfling. that's this years daddyo-day prezzie taken care of! ;)

~peace.

15 November 2010

promise, postponed


photo :: property of click here
 i want this record player, want it so! i do think santa should get this for me - i've been a very good girl. mostly. well, ok. i truly haven't, but i meant to be.

the gorgeous player has, sadly, nothing to do with this post. i have no access to sheba (she's in laptop hospital), so needed a photo to keep you riveted to my every word. :)

i know i said i would have the frame tutorial soon, but my photos for it aren't on this borrowed laptop. sorry! no worries, sheba is not dreadfully ill, so the tutorial's postponement should be short.

for now, you can stare dreamily at the above photo with me.

~peace.

11 November 2010

everything old is new again

*

so much is new around thebelfry. mostly it's elfling-related - words abilities, etc - such is the world of a bébé. i shan't bore you by gushing over how brilliant he is. i mean really now, what mama doesn't think her offspring is the next einstein? of course mine is. i also have some new treasures to share.

the above is a gorgeously tattered quilt. it was made by manlyman's grandmother's older sister. how's that for a mouth-full? my mother-in-law rescued it eons ago, when her mother was going to throw it away. gasp!

recently she nearly made me cry by passing the quilt on to me! i think i was actually somewhat near to being ever so slightly speechless for a moment or two. never was i so happy that manlyman's siblings don't like old things.


this sweet little shelf for the bathroom is my latest thrift shop find. i think it is the perfect shade: not quite white, not quite beige. its shallow shelves aren't the most practical, though it does manage to hold a few daily necessities.


for years now i have wanted this poster, & now i have it! in a wonderful old frame to boot! well, sort of. look more closely at the photo & you'll see it is, in fact, printed off my computer - frame & all. i know!

coming up, i have a tutorial for making frames such as these - though in card stock, not computer paper like mine. speaking of which: am i the only one who makes things better for others, than for herself? do you do that as well? please tell me you do. lie to me if need be.

rats, i had more to chat about, but a certain elfling has decided to wake early from his nap. thanks for visiting!

~peace.
02 November 2010

chocolate skulls, a tutorial

*

in honor of my mother's first year as an ancestor, instead of sugar skulls, we opted to make chocolate ones. she loved dark chocolate. is there any other kind? i mean, really now.

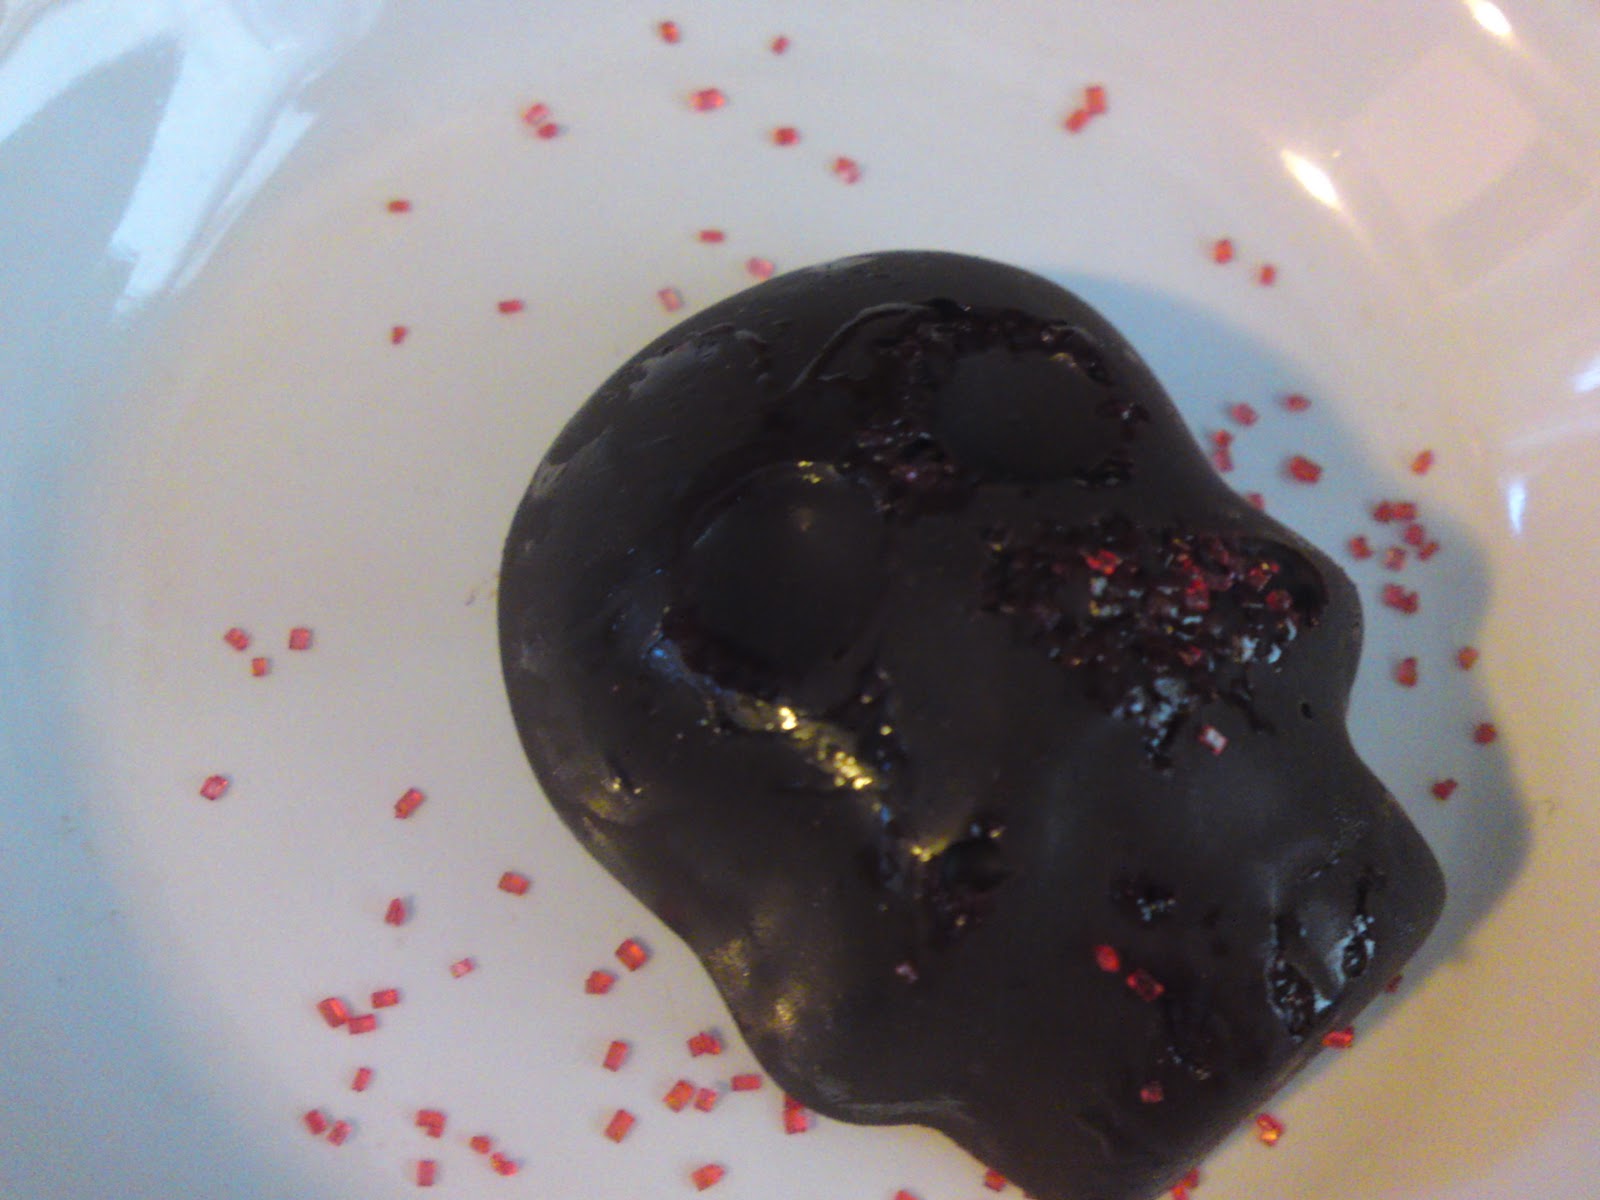
we had planned on making the skulls, then decorating them after they'd cooled, but we chose the lazy way. hence the above (hobbit-named) bloody skull look. this is a child-friendly craft, by the way.

what you'll need: small skull molds (google lists many places from which to purchase molds), your favorite chocolate (we used bittersweet), & colored sugar. edited to say :: you'll see that i'd cut the mold into strips. it makes it easier to pop the sugar skulls onto the drying rack. you don't need to do this for chocolate.


* melt your chocolate in a double boiler, or microwave. to do the latter, nuke it for one minute on high, stir, then 20 seconds more, & stir. that should be long enough.


* place your molds on a cookie sheet that fits in your freezer. if you haven't one, cut a piece of cardboard to fit. sprinkle the colored sugar into each skull.


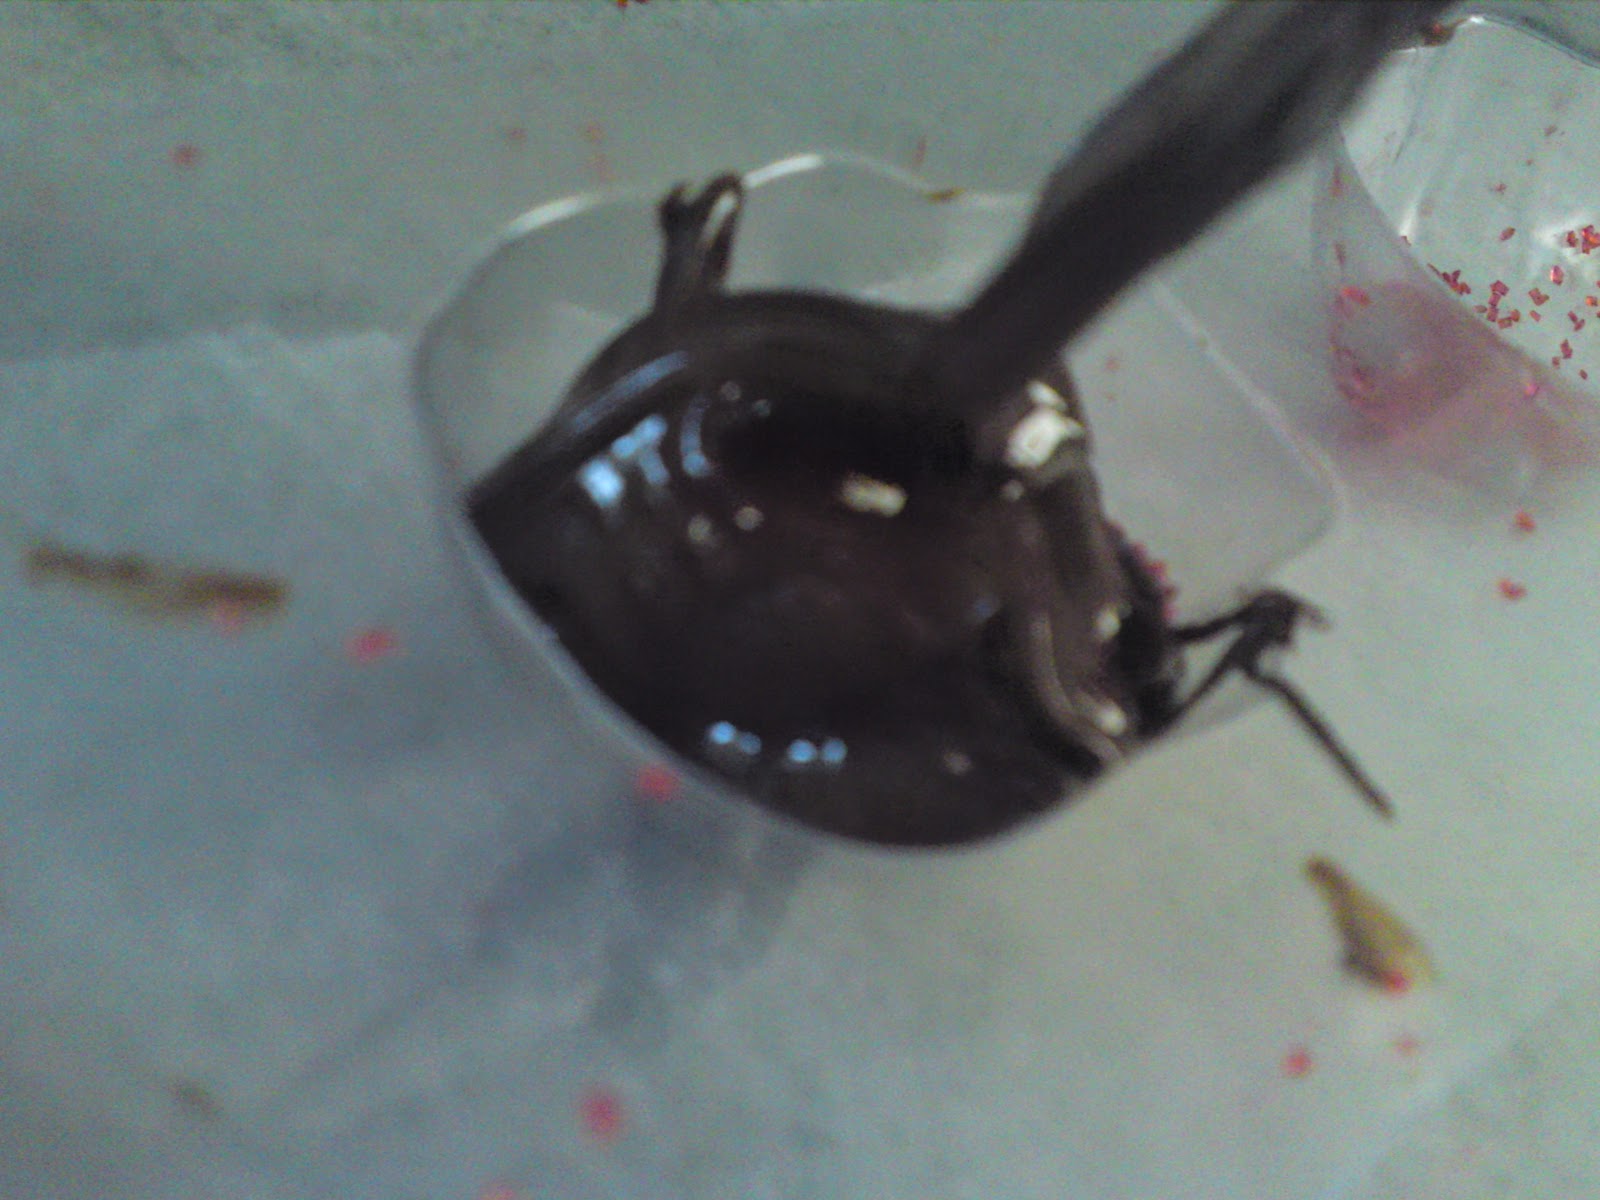
* carefully fill each skull with chocolate. we have tried many ways of getting the chocolate into molds, & a fork was voted the best by thehobbit. you can plop in the bulk, & the last bit drizzles nicely off the tines. easy peasy.


* once all the mold's skulls have been filled, carefully pick up the mold, & tap it on the counter. this should remove any air bubbles.

* pop the tray of skulls into the freezer for at least 15 minutes. the longer you can leave them in, the better. you need their centers to harden.


* sprinkle sugar on a little plate on which you've jauntily placed a bloody skull, & photograph it next to your fancy pumpkin. or just eat it. whichever.

if you do this project, please let me know. i want to see photos! enjoy.

~peace.

01 November 2010

dia de los muertos

*
unrelated photo of a zombie aviator, aka thehobbit

also known as day of the dead, dia de los muertos (ddlm) is a celebration that has its roots in ancient times. to learn all about it, read what dayofthedead, or wiki has to say.

i have a lazy version of a ddlm tutorial for you, but not until tomorrow. stop pouting, because i have some fun ddlm links to tide you over!

* our favorite thing to do is create sugar skulls. mexicansugarskull explains the what & the why, has fabulous photos, & skull molds for sale. a great tutorial, as well.

* at azcentral you can find a list of crafts to, as they say, make this ddlm one to remember.

* coloring pages are always fun. use them to decorate you home, or enhance a homeschool lesson. i'm told they're great for quieting your little kids, so their older siblings can actually do their lessons. thecolor has some perfectly suited to the holiday.

* speaking of homeschooling, check out this wonderful education packet! i don't want to spoil your oohs & aahs by telling you what's there, so just go take a peek.

that is all for today! come back tomorrow for my lazy version of a ddlm tutorial. have fun crafting!

~peace.

09 October 2010

bébé's "noisy wallet"- a tutorial

*

finally, i can upload photos! let's get right to it, shall we? this is how i made elfling his very own noisy wallet. for this project you'll need: fabric, felt, 1 empty package of wipes, 6 inch ribbon, & 3.5 inch velcro strip.

* cut your fabric & felt each into 2 rectangles, measuring 9 x 5.5. i don't recommend wool felt for this. you'll want to wash & dry it regularly, so opt for bamboo, or ecofelt. something that won't shrink.
* cut the wipes package open, then into 1 rectangle, slightly smaller than the others. you know i mean the refill package, right, not the hard box? this makes the crinkley noise when you wee one plays with it.
* cut your ribbon in half.


* make a sammich: fabric (right side down), felt, wipes package, felt, fabric (right side up). we aren't turning any edges, so you want to make sure your fabric isn't the wrong way. i am lazy didn't have a problem with my layers sliding about, so i didn't pin. do so, if you want.


* on each short side, insert a piece of ribbon that has been folded. make sure enough is on the inside of your sammich. the ribbon isn't a must-have, by the way, unless your bébé is mad for tags like elfling.


*zigzag around all four edges of your sammich, reinforcing at the ribbons. if you want a neater look, feel free to turn down the edges, etc. my way isn't for everyone, but works perfectly well.


* straight stitch your rectangle in half, shortwise. this will be where you wallet folds. i then stitched each half in half again, but you needn't - i was going for a quilted look, then changed my mind.

important note :: if you are bothered by crooked lines, yet not good at paying attention, do not use a plaid fabric! the photo above illustrates why.


* zigzag your strip of velcro to what you have chosen to be the inside of your wallet. this is the closure, so sew it near the two shorter edges. it's also another fun noise feature, so don't opt for a button instead.


that's all there is to it! i don't have a photo of the wallet folded, as a certain someone would not give it back once i handed it over for testing. you can see that the tag is thus far his favorite feature. if you make you own noisy wallet, send me a photo, so i can see! the dreaded blahblahblah bit: please, please, please make this only for yourself & friends - not for resale. i am sure you would never do such a thing, but i felt i had to say it. thanks, for understanding. now, go make one!

~peace.

if sewing is not your thing, let me know! i am currently making noisy wallets for theshop.

06 October 2010

tutorial, thwarted

*
i created a fabulous toy for elfling, & photographed the process to share with you. no woohooing though, because blogger isn't allowing me to upload photos today. i tried for quite some time, it just isn't working. stupid blogger.

have no fear, my one & only reader, for i shall try again tomorrow! assuming i do not forget, that is.

until then...

~peace.

02 August 2010

mini bunting madness

*


here is the cake with bunting! i wish i could tell you that it was a breeze to make, but the one pictured was the third attempt. i have a new respect for crafters of mini bunting.

let me first say that i did not know we were out of long skewers, hence the short ones. on to the details: i used a fabric with a loose weave, so it would quickly fray. a wise choice if you want that look (which i did), but a pain to sew that dinky. by the way, paper (attempt, the second) did not have that ethereal feel i sought.

i wrote the letters (fuzzed to respect elfling's privacy) in permanent marker, with an ultra-fine tip. i thought about using stamps, but it seemed silly with so few letters, & so small a size.

the bunting was sewn together, on the machine, using white, & barn red threads. after tying it to the skewers, i secured the knots with tacky glue.

the topper was a huge hit - i definitely will do this again.  making sure to have the proper skewers first, of course. thanks for the inspiration, twirling betty!

~peace.

31 March 2010

new shipping envelopes - the tutorial

*
people have been emailing, asking about the envelopes i talked about recently. since i needed to make a few yesterday, i thought i'd photograph the process for you. it's an official kats in the belfry tutorial, or kitbt!

*prepare the bag: carefully remove the handles, & toss them into your recycling bin. next you'll need to cut the bag open; do this by cutting down one corner seam, then around the base. now your bag should lie flat.


* place your item on the bag, & measure 2 inches around. you can either cut out 2 of of this size, or fold your bag over, then cut once. i did the latter here. definitely fold if your item is bulky.


*with your machine set to zig zag, stitch around three sides. leave a bit of a seam allowance, & don't forget to back stitch.


*slip your item in. make sure you ease it to the bottom of your envelope, so you don't accidentally sew through it. for a bit of padding you can first wrap your item in some of the tissue you saved from your birthday prezzies.


*sew the fourth side closed, back stitching once more to avoid ravelling.


*if your bag has a fancy design, as does mine, add a label for the address.


*a reminder to recycle your envelope would be a lovely addition. perhaps i should have gone with a color not in the bag's design.


*make more! my bag made 1 small, & 1 large envelope.


these are fun to make, & take very little time. happy envelop-making!
~peace.
Related Posts Plugin for WordPress, Blogger...